Unlock Summer Bliss with Homemade Orange Sherbet: Classic Recipe & Creative Twists
Few treats capture the essence of a sun-drenched day quite like a scoop of vibrant, tangy-sweet
orange sherbet. It’s more than just a dessert; it’s a burst of sunshine, a nostalgic trip back to childhood creamsicle dreams, and the ultimate refreshing antidote to a scorching afternoon. While store-bought options are readily available, there’s an undeniable magic in crafting your own homemade orange sherbet. The depth of flavor, the control over ingredients, and the sheer satisfaction of creating something so delicious from scratch make it an incredibly rewarding culinary adventure.
Imagine entertaining guests at a backyard barbecue or simply unwinding after a long day with a bowl of this creamy, icy delight. With just a handful of simple ingredients and a little time, you can whip up a batch of the freshest, most flavorful orange sherbet that will have everyone clamoring for more. Forget the trip to the grocery store; your perfect summer indulgence is just a churn away.
Why Homemade Orange Sherbet is a Must-Try
Beyond the sheer joy of creating a delicious treat, making your own
orange sherbet offers a multitude of benefits that elevate the experience far beyond anything you can buy in a carton.
*
Unparalleled Freshness: The most significant advantage is the superior flavor. When you use fresh-squeezed orange juice and zest, you're tapping into the brightest, most aromatic citrus notes possible. This freshness translates directly into a sherbet that tastes infinitely more vibrant and authentic than versions made with concentrates or artificial flavors.
*
Control Over Ingredients: Homemade means knowing exactly what goes into your dessert. You can choose high-quality dairy, adjust sugar levels to your preference, and avoid any unwanted preservatives or additives often found in commercial products.
*
Customization at Your Fingertips: The classic recipe is fantastic, but homemade sherbet opens the door to endless variations. From adding tropical fruits to incorporating a healthier twist, your kitchen becomes a playground for flavor experimentation.
*
A Fun & Engaging Activity: Making sherbet, especially with an ice cream maker, is a relatively simple process that can be enjoyed by all ages. It's a fantastic way to involve children in the kitchen and create delicious memories together.
*
Economical & Accessible: The core ingredients for orange sherbet are common and affordable. You'll often find that making a large batch at home is more cost-effective than repeatedly buying smaller containers from the store.
For a more detailed breakdown of the churning process and how to get that perfect consistency, check out our guide on
Whip Up Creamy Homemade Orange Sherbet: Your Easy Guide.
The Essential Ingredients for Perfect Orange Sherbet
Crafting the perfect batch of
homemade orange sherbet begins with understanding the role each ingredient plays. While the list is short, the quality of each component makes a world of difference in the final product.
*
Orange Juice: The Star of the Show
This is non-negotiable for authentic flavor. For the absolute best results, opt for
freshly squeezed orange juice. Whether you squeeze it yourself from ripe Navel or Valencia oranges or purchase a high-quality, not-from-concentrate variety, avoid canned or frozen concentrate. The difference in brightness and natural sweetness is truly astounding.
*
Sugar: Sweetness and Texture's Best Friend
Beyond lending sweetness, sugar plays a crucial role in the texture of your sherbet. It acts as an antifreeze, helping to prevent the formation of large, icy crystals, resulting in a smoother, creamier mouthfeel. Adjust the amount slightly to suit your preference for sweetness, but don't skimp entirely, or your sherbet might become too hard.
*
Salt: The Unsung Flavor Enhancer
Just a tiny pinch of salt might seem counterintuitive in a sweet dessert, but it's a secret weapon. Salt doesn't make your sherbet salty; instead, it enhances all the other flavors, particularly the sweetness and tang of the orange, creating a more balanced and complex profile.
*
Orange Zest: The Aromatic Powerhouse
Freshly grated orange zest is where much of the intense orange aroma and essential oils reside. It adds a vibrant, concentrated citrus punch that elevates the overall flavor of your sherbet. When zesting, be sure to only grate the bright orange outer layer, avoiding the bitter white pith underneath.
*
Heavy Whipping Cream: For Unbeatable Creaminess
This is what transforms a simple orange ice into a rich, luscious sherbet. Heavy whipping cream provides the fat content necessary for that signature creamy consistency, contrasting beautifully with the icy citrus base. For a slightly lighter option, some recipes use a combination of whole milk and cream, but heavy cream delivers the most indulgent texture.
*
Vanilla Extract (Optional, but Highly Recommended): The Flavor Bridge
While optional, a splash of pure vanilla extract works wonders in icy treats. It doesn't make the sherbet taste like vanilla, but rather acts as a bridge, enhancing the other flavors and adding a subtle depth and complexity that makes the orange notes pop even more. It contributes a lovely aromatic background, often described as an umami note in sweet applications.
Step-by-Step Guide to Churning Your Own Orange Sherbet
Making
homemade orange sherbet is surprisingly straightforward, especially with the aid of an ice cream maker. Follow these steps for a perfectly refreshing treat:
Step 1: Combine the Core Flavors
In a large mixing bowl, combine your fresh orange juice, orange zest, sugar, and salt. Whisk these ingredients together vigorously until the sugar and salt are completely dissolved. This ensures no grainy texture in your final product. Next, slowly pour in the heavy whipping cream while continuously whisking. This gradual addition helps to emulsify the mixture, preventing separation and leading to a smoother sherbet. If you're incorporating vanilla extract, stir it in at this stage, ensuring it's well combined.
Step 2: Chill for Optimal Results
This step is crucial for achieving the best texture. Cover the bowl and refrigerate the sherbet mixture for at least one hour, or ideally, until it is thoroughly chilled. A cold base mixture will churn more efficiently in your ice cream maker, resulting in a smoother, creamier sherbet with fewer ice crystals. Don't skip this step – patience here pays off!
Step 3: Churn and Freeze to Perfection
Once your mixture is perfectly chilled, it's time to bring out your ice cream maker. Pour the mixture into the frozen cylinder of your ice cream maker, making sure not to fill it more than two-thirds full to allow for expansion during churning. Follow your manufacturer's specific directions for churning; typically, this process takes about 20-30 minutes, or until the sherbet reaches a soft-serve consistency.
After churning, transfer the freshly made
orange sherbet to smaller freezer-safe containers. Leave a little room at the top, as the sherbet will expand slightly as it fully freezes. For the ideal firm, scoopable texture, freeze for at least eight hours, or even better, overnight. Pre-chilling your freezer containers can also help prevent the outer layer of sherbet from forming large ice crystals as it settles.
Creative Twists and Flavorful Variations
While the classic
orange sherbet recipe is a timeless winner, one of the joys of making it at home is the freedom to experiment. Here are some exciting variations to inspire your culinary creativity:
*
Tropical Pineapple Fusion: For a delightful island escape, fold in a can of well-drained crushed pineapple into your sherbet mixture before churning. The tartness of the pineapple beautifully complements the orange, adding a textural dimension and a vibrant tropical tang.
*
Decadent Chocolate Chip Sherbet: Chocolate lovers, rejoice! After churning, gently fold in a handful of mini milk chocolate chips or finely chopped dark chocolate chunks. The slight bitterness or creamy sweetness of the chocolate creates a surprising yet delicious contrast with the bright orange flavor, reminiscent of a chocolate orange confection.
*
Healthier Greek Yogurt & Protein Boost: For a guilt-free indulgence, swap out the heavy whipping cream for an equal amount of full-fat Greek yogurt (for extra creaminess) and add a scoop of vanilla protein powder. This variation offers a protein-rich, tangier sherbet that's surprisingly satisfying and refreshing without sacrificing flavor.
*
Berry Swirl Sensation: Create a stunning visual and flavor profile by swirling in a simple berry puree after churning. Blend fresh or frozen raspberries, strawberries, or blueberries with a touch of sugar, then gently ripple it through the soft-serve sherbet before freezing.
*
Zesty Lemon-Lime Kick: Amp up the citrus factor by adding a teaspoon of fresh lemon or lime zest to the original mixture. This introduces an extra layer of bright acidity that makes the orange flavor pop even more, creating a truly exhilarating experience.
*
Adult Orange Sherbet with Liqueur: For a sophisticated twist, stir in a tablespoon or two of an orange-flavored liqueur like Grand Marnier or Cointreau to the mixture before chilling. The alcohol adds a lovely depth of flavor and also helps keep the sherbet softer, making it easier to scoop.
Tips for Storing and Serving Your Homemade Delight
To ensure your homemade
orange sherbet remains at its peak of deliciousness, proper storage and serving techniques are key.
Just like ice cream, sherbet melts quickly. Always return any unused portions to the freezer immediately after scooping. Store your sherbet in an airtight container to prevent freezer burn, which can lead to ice crystal formation and diminish the smooth texture. A layer of plastic wrap pressed directly onto the surface of the sherbet before sealing the container can provide extra protection. When stored correctly, homemade orange sherbet can maintain its quality for up to two weeks.
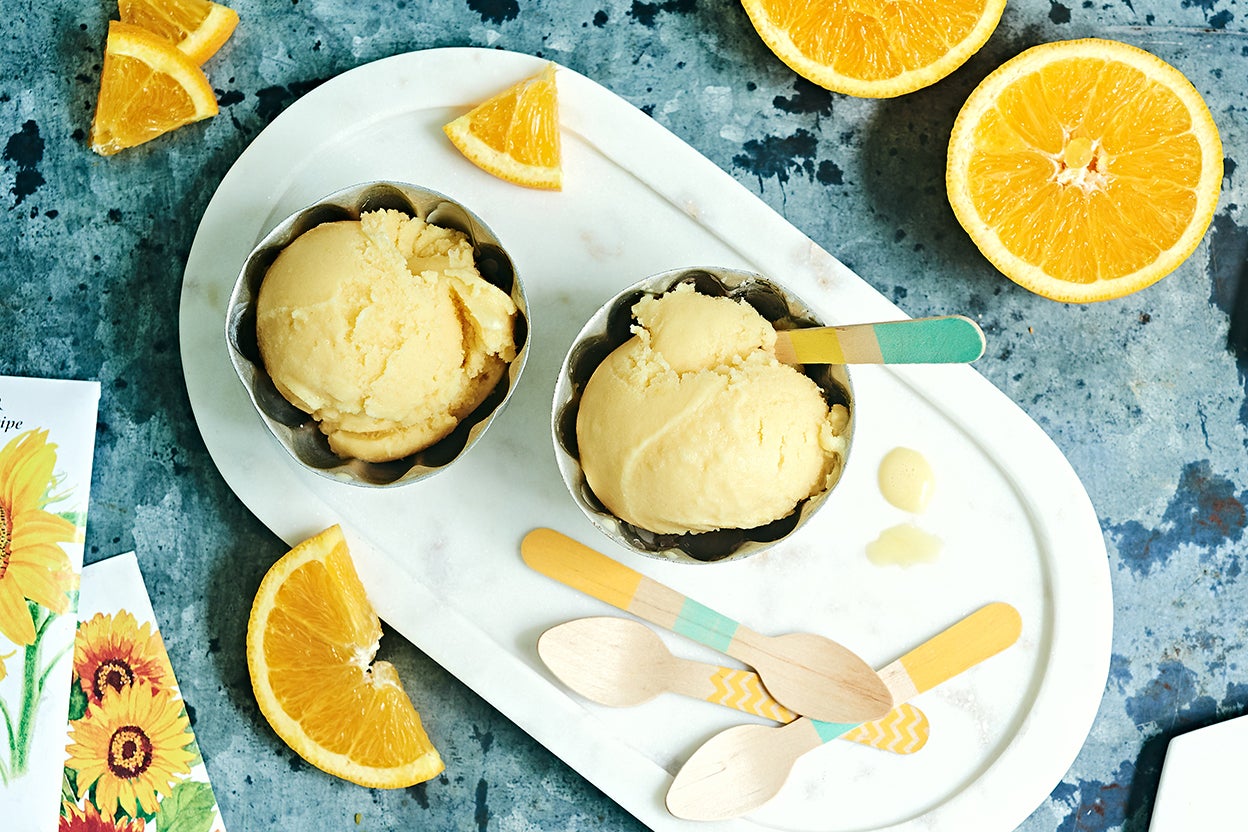
Before serving, take the container out of the freezer and let it sit on the counter for about 5-10 minutes. This brief softening period will make it much easier to scoop, yielding those perfect, creamy balls. Serve your vibrant orange sherbet simply on its own, garnished with a fresh orange slice, or get creative! It’s fantastic alongside a light shortbread cookie, as a topping for a fruit salad, or even as a refreshing float with sparkling water or lemon-lime soda.
To master the art of making the perfect batch every time, don't miss our comprehensive tips in
Beat the Heat: Craft the Best Homemade Orange Sherbet Recipe.
Conclusion
Making your own
homemade orange sherbet is a simple pleasure that truly elevates the summer experience. From the vibrant zest of fresh oranges to the creamy texture achieved with quality dairy, every scoop is a testament to the joy of homemade goodness. Whether you stick to the beloved classic recipe or venture into creative twists like pineapple fusion or chocolate chunks, you're guaranteed a refreshing, satisfying treat that's far superior to anything store-bought. So, embrace the sunshine, gather your ingredients, and churn your way to a perfect bowl of tangy-sweet bliss. Your taste buds will thank you!